New Reports
Overview
The New Reports tab in the Reports view is where you can create a new report, either on an ad-hoc basis for immediate download, or for it to be saved for future use. Saved reports can be executed immediately, scheduled, or both.
Note: The New Reports tab will be the default tab selected in the Reports view when you don’t yet have any saved reports.
Reports created in this view are based on templates. Templates provide the output structure and filter definitions the user can configure in order for the application to generate the shape of the report. Anchore Enterprise client provides immediate access to a number of preconfigured system templates that can be used as the basis for user templates. For more information on how to create and manage templates, please refer to the Templates documentation.
Creating a Report
The initial view of the New Reports tab is shown below:
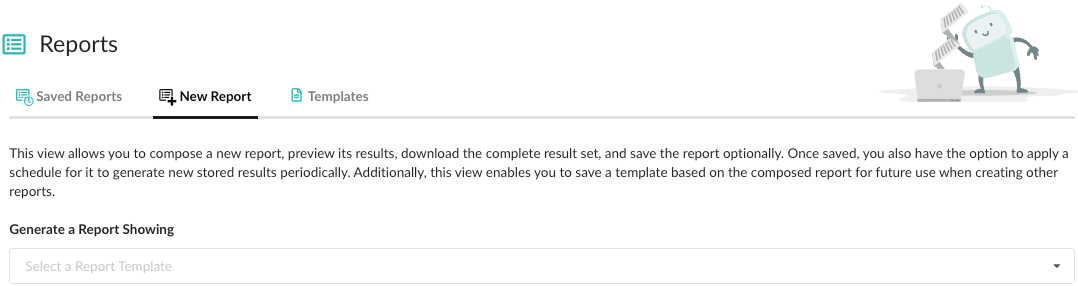
In the above view you can see that the application is inviting you to select a template from the dropdown menu. You can either select an item from this dropdown or click in the field itself and enter text in order to filter the list.
Once a template is selected, the view will change to show the available filters for the selected template. The following screenshot shows the view after selecting the Artifacts by Vulnerability template:
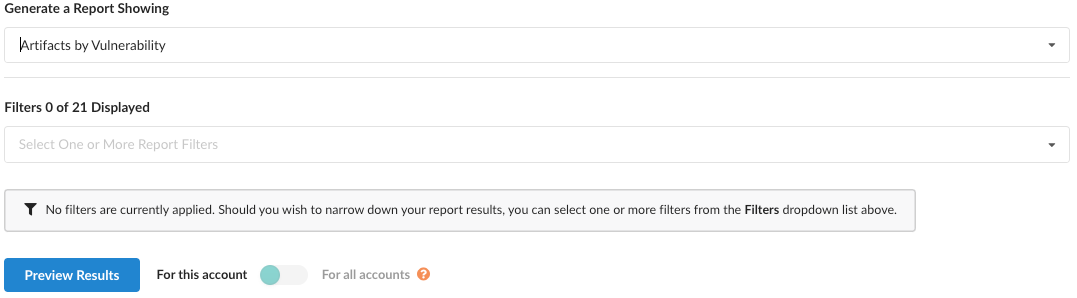
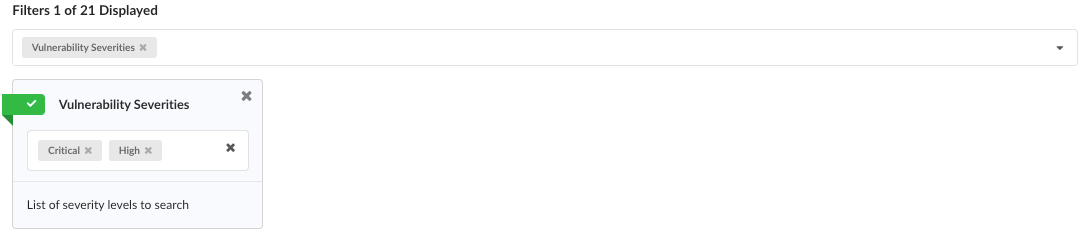
At this point you can click Preview Report to see the summary output and download the information, or you can refine the report by adding filters from the associated dropdown. As with the template selection, you can either select an item from the dropdown or click in the field itself and enter text in order to filter the list.
After you click the Preview Report button, you are presented with the summary output and the ability to download the report in a variety of formats:
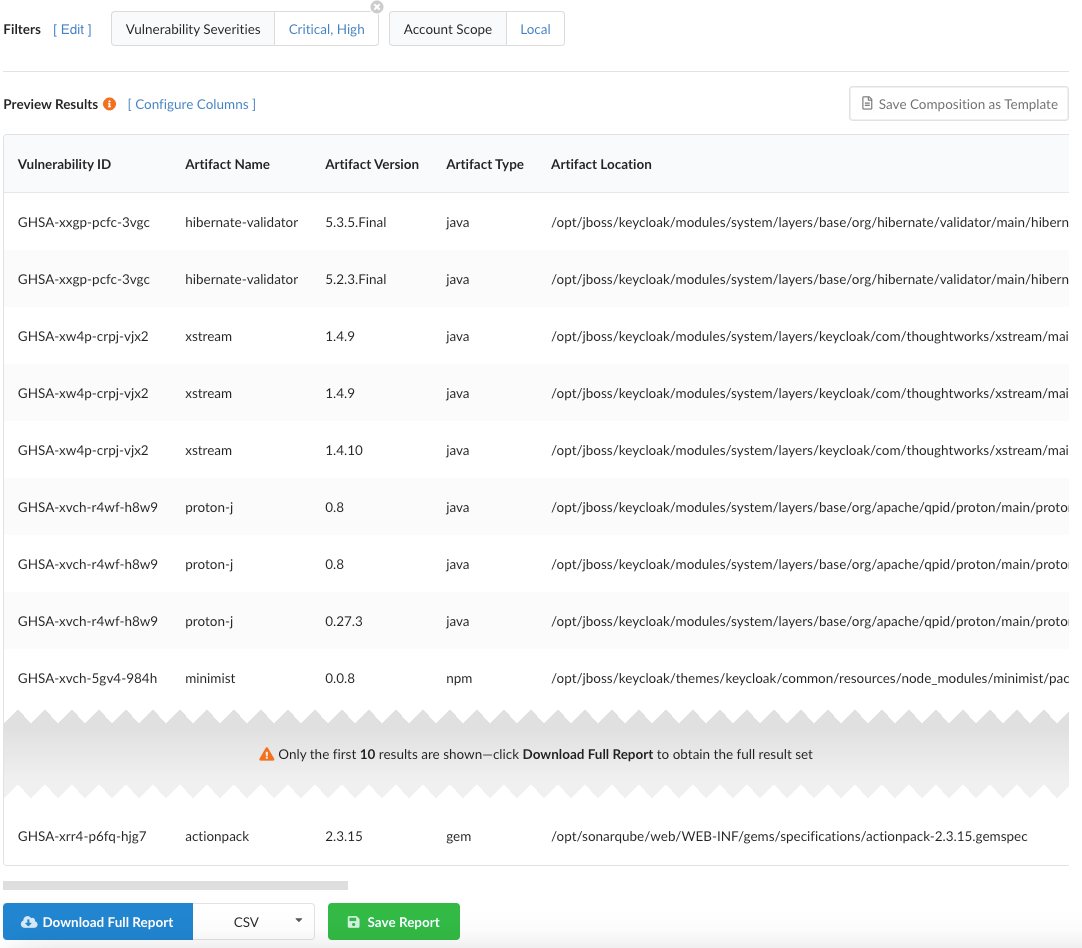
At this point you can click any of the filters you applied in order to adjust them (or remove them entirely). The results will update automatically. If you want to add more filters you can click the [ Edit ] button and select more items from the available options and then click Preview Report again to see the updated results.
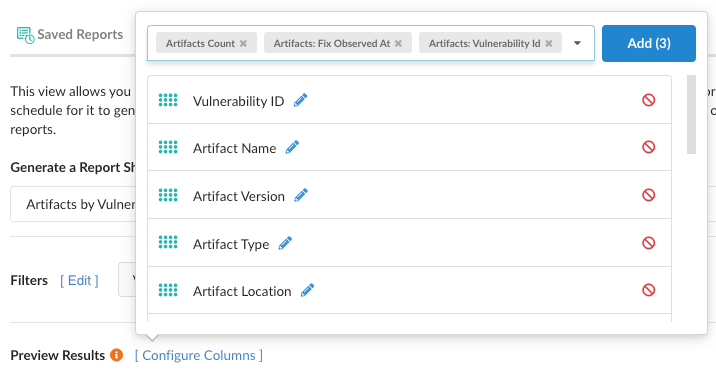
You can now optionally configure the output information by clicking the [ Configure Columns ] button. The resulting popup allows you to reorder and rename the columns, as well as remove columns you don’t want to see in the output or add columns that are not present by default:
Once you’re satisfied with the output, click Download Full Report to download the report in the selected format. The formats provided are:
- CSV - comma-separated values, with all nested objects flattened into a linear list of items
- Flat JSON - JavaScript object notation, with all nested objects flattened into a linear list of items
- Raw JSON - JavaScript object notation, with all nested objects preserved
Saving a Report
The above describes the generation of an ad-hoc report for download, which may be all you need. However, you can also save the report for future use. To do so, click the Save Report button. The following popup will appear:
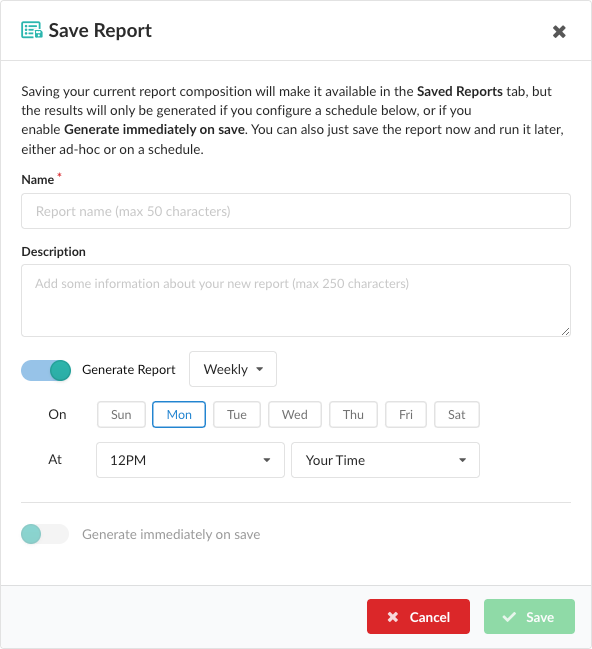
Provide a name and optional description for the report, and then select whether you want to save the report and store results immediately, set it to run on a schedule, or both. If you select the Generate Report option, you can then select the frequency of the report generation. Once you’re satisfied with the configuration, click Save.
The saved report will be stored under Saved Reports and you will immediately be transitioned to this view on success. The features within this view are described in the Saved Reports section.
Last modified February 13, 2024