Installing Anchore Enterprise on Amazon EKS
This document will walkthrough the installation of Anchore Enterprise on an Amazon EKS cluster and expose it on the public internet.
Prerequisites
- A running Amazon EKS cluster with worker nodes launched. See EKS Documentation for more information on this setup.
- Helm client installed on local host.
- Anchore CLI installed on local host.
Once you have an EKS cluster up and running with worker nodes launched, you can verity via the followiing command.
$ kubectl get nodes
NAME                             STATUS   ROLES    AGE   VERSION
ip-192-168-2-164.ec2.internal    Ready    <none>   10m   v1.14.6-eks-5047ed
ip-192-168-35-43.ec2.internal    Ready    <none>   10m   v1.14.6-eks-5047ed
ip-192-168-55-228.ec2.internal   Ready    <none>   10m   v1.14.6-eks-5047ed
Anchore Helm Chart
Anchore maintains a Helm chart to simplify the software installation process. An Enterprise installation of the chart will include the following:
- Anchore Enterprise software
- PostgreSQL (9.6.2)
- Redis (4)
To make the necessary configurations to the Helm chart, create a custom anchore_values.yaml file and reference it during installation. There are many options for configuration with Anchore, this document is intended to cover the minimum required changes to successfully install Anchore Enterprise on Amazon EKS.
Note: For this installation, an ALB ingress controller will be used. You can read more about Kubernetes Ingress with AWS ALB Ingress Controller here
Configurations
Make the following changes below to your anchore_values.yaml
Ingress
ingress:
  enabled: true
  # Use the following paths for GCE/ALB ingress controller
  apiPath: /v1/*
  uiPath: /*
    # apiPath: /v1/
    # uiPath: /
    # Uncomment the following lines to bind on specific hostnames
    # apiHosts:
    #   - anchore-api.example.com
    # uiHosts:
    #   - anchore-ui.example.com
  annotations:
    kubernetes.io/ingress.class: alb
    alb.ingress.kubernetes.io/scheme: internet-facing
Note: Configuring ingress is optional. It is used throughout this guide to expose the Anchore deployment on the public internet.
Anchore API Service
# Pod configuration for the anchore engine api service.
anchoreApi:
  replicaCount: 1

  # Set extra environment variables. These will be set on all api containers.
  extraEnv: []
    # - name: foo
    #   value: bar

  # kubernetes service configuration for anchore external API
  service:
    type: NodePort
    port: 8228
    annotations: {}
Note: Changed the service type to NodePort
Anchore Enterprise Global
anchoreEnterpriseGlobal:
  enabled: true
Anchore Enterprise UI
anchoreEnterpriseUi:
  # kubernetes service configuration for anchore UI
  service:
    type: NodePort
    port: 80
    annotations: {}
    sessionAffinity: ClientIP
Note: Changed service type to NodePort.
AWS EKS Configurations
Create the IAM policy to give the Ingress controller the right permissions:
- Go to the IAM Console.
- Choose the section Roles and search for the NodeInstanceRole of your EKS worker nodes.
- Create and attach a policy using the contents of the template iam-policy.json
Deploy RBAC Roles and RoleBindings needed by the AWS ALB Ingress controller from the template below:
wget https://raw.githubusercontent.com/kubernetes-sigs/aws-alb-ingress-controller/v1.0.0/docs/examples/rbac-role.yaml
kubectl apply -f https://raw.githubusercontent.com/kubernetes-sigs/aws-alb-ingress-controller/v1.0.0/docs/examples/rbac-role.yaml
Update ALB Ingress
Download the ALB Ingress manifest and update the cluster-name section with the name of your EKS cluster name.
wget https://raw.githubusercontent.com/kubernetes-sigs/aws-alb-ingress-controller/v1.0.1/docs/examples/alb-ingress-controller.yaml
# Name of your cluster. Used when naming resources created
            # by the ALB Ingress Controller, providing distinction between
            # clusters.
            - --cluster-name=anchore-prod
Deploy the AWS ALB Ingress controller YAML:
kubectl apply -f alb-ingress-controller.yaml
Anchore Enterprise installation
Create secrets
Enterprise services require an Anchore Enterprise license, as well as credentials with permission to access the private DockerHub repository containing the enterprise software.
Create a kubernetes secret containing your license file:
kubectl create secret generic anchore-enterprise-license --from-file=license.yaml=<PATH/TO/LICENSE.YAML>
Create a kubernetes secret containing DockerHub credentials with access to the private Anchore Enterprise software:
kubectl create secret docker-registry anchore-enterprise-pullcreds --docker-server=docker.io --docker-username=<DOCKERHUB_USER> --docker-password=<DOCKERHUB_PASSWORD> --docker-email=<EMAIL_ADDRESS>
Install Anchore Enterprise:
helm repo add anchore https://charts.anchore.io
helm install --name anchore-enterprise anchore/anchore-engine -f anchore_values.yaml
It will take the system several minutes to bootstrap. You can checks on the status of the pods by running kubectl get pods:
$ kubectl get pods
NAME                                                              READY   STATUS    RESTARTS   AGE
anchore-enterprise-anchore-engine-analyzer-6865f45bdc-6tgww       1/1     Running   0          13m
anchore-enterprise-anchore-engine-api-6f6c4bd6bd-nvzh9            4/4     Running   0          13m
anchore-enterprise-anchore-engine-catalog-576795b8df-9drxg        1/1     Running   0          13m
anchore-enterprise-anchore-engine-enterprise-feeds-67f44645kr46   1/1     Running   0          13m
anchore-enterprise-anchore-engine-enterprise-ui-6854ff4454zn4bz   1/1     Running   0          13m
anchore-enterprise-anchore-engine-policy-6dd9896c97-nwcbx         1/1     Running   0          13m
anchore-enterprise-anchore-engine-simplequeue-7744778576-th54t    1/1     Running   0          13m
anchore-enterprise-anchore-feeds-db-7d66cdd68d-q8tfc              1/1     Running   0          13m
anchore-enterprise-anchore-ui-redis-master-0                      1/1     Running   0          13m
anchore-enterprise-postgresql-86d5488c9b-rvqb6                    1/1     Running   0          13m
Run the following command for details on the deployed ingress resource:
$ kubectl describe ingress
Name:             anchore-enterprise-anchore-engine
Namespace:        default
Address:          xxxxxxx-default-anchoreen-xxxx-xxxxxxxxx.us-east-1.elb.amazonaws.com
Default backend:  default-http-backend:80 (<none>)
Rules:
  Host  Path  Backends
  ----  ----  --------
  *
        /v1/*   anchore-enterprise-anchore-engine-api:8228 (192.168.42.122:8228)
        /*      anchore-enterprise-anchore-engine-enterprise-ui:80 (192.168.14.212:3000)
Annotations:
  alb.ingress.kubernetes.io/scheme:  internet-facing
  kubernetes.io/ingress.class:       alb
Events:
  Type    Reason  Age   From                    Message
  ----    ------  ----  ----                    -------
  Normal  CREATE  14m   alb-ingress-controller  LoadBalancer 904f0f3b-default-anchoreen-d4c9 created, ARN: arn:aws:elasticloadbalancing:us-east-1:077257324153:loadbalancer/app/904f0f3b-default-anchoreen-d4c9/4b0e9de48f13daac
  Normal  CREATE  14m   alb-ingress-controller  rule 1 created with conditions [{    Field: "path-pattern",    Values: ["/v1/*"]  }]
  Normal  CREATE  14m   alb-ingress-controller  rule 2 created with conditions [{    Field: "path-pattern",    Values: ["/*"]  }]
The output above shows that an ELB has been created. Navigate to the specified URL in a browser:
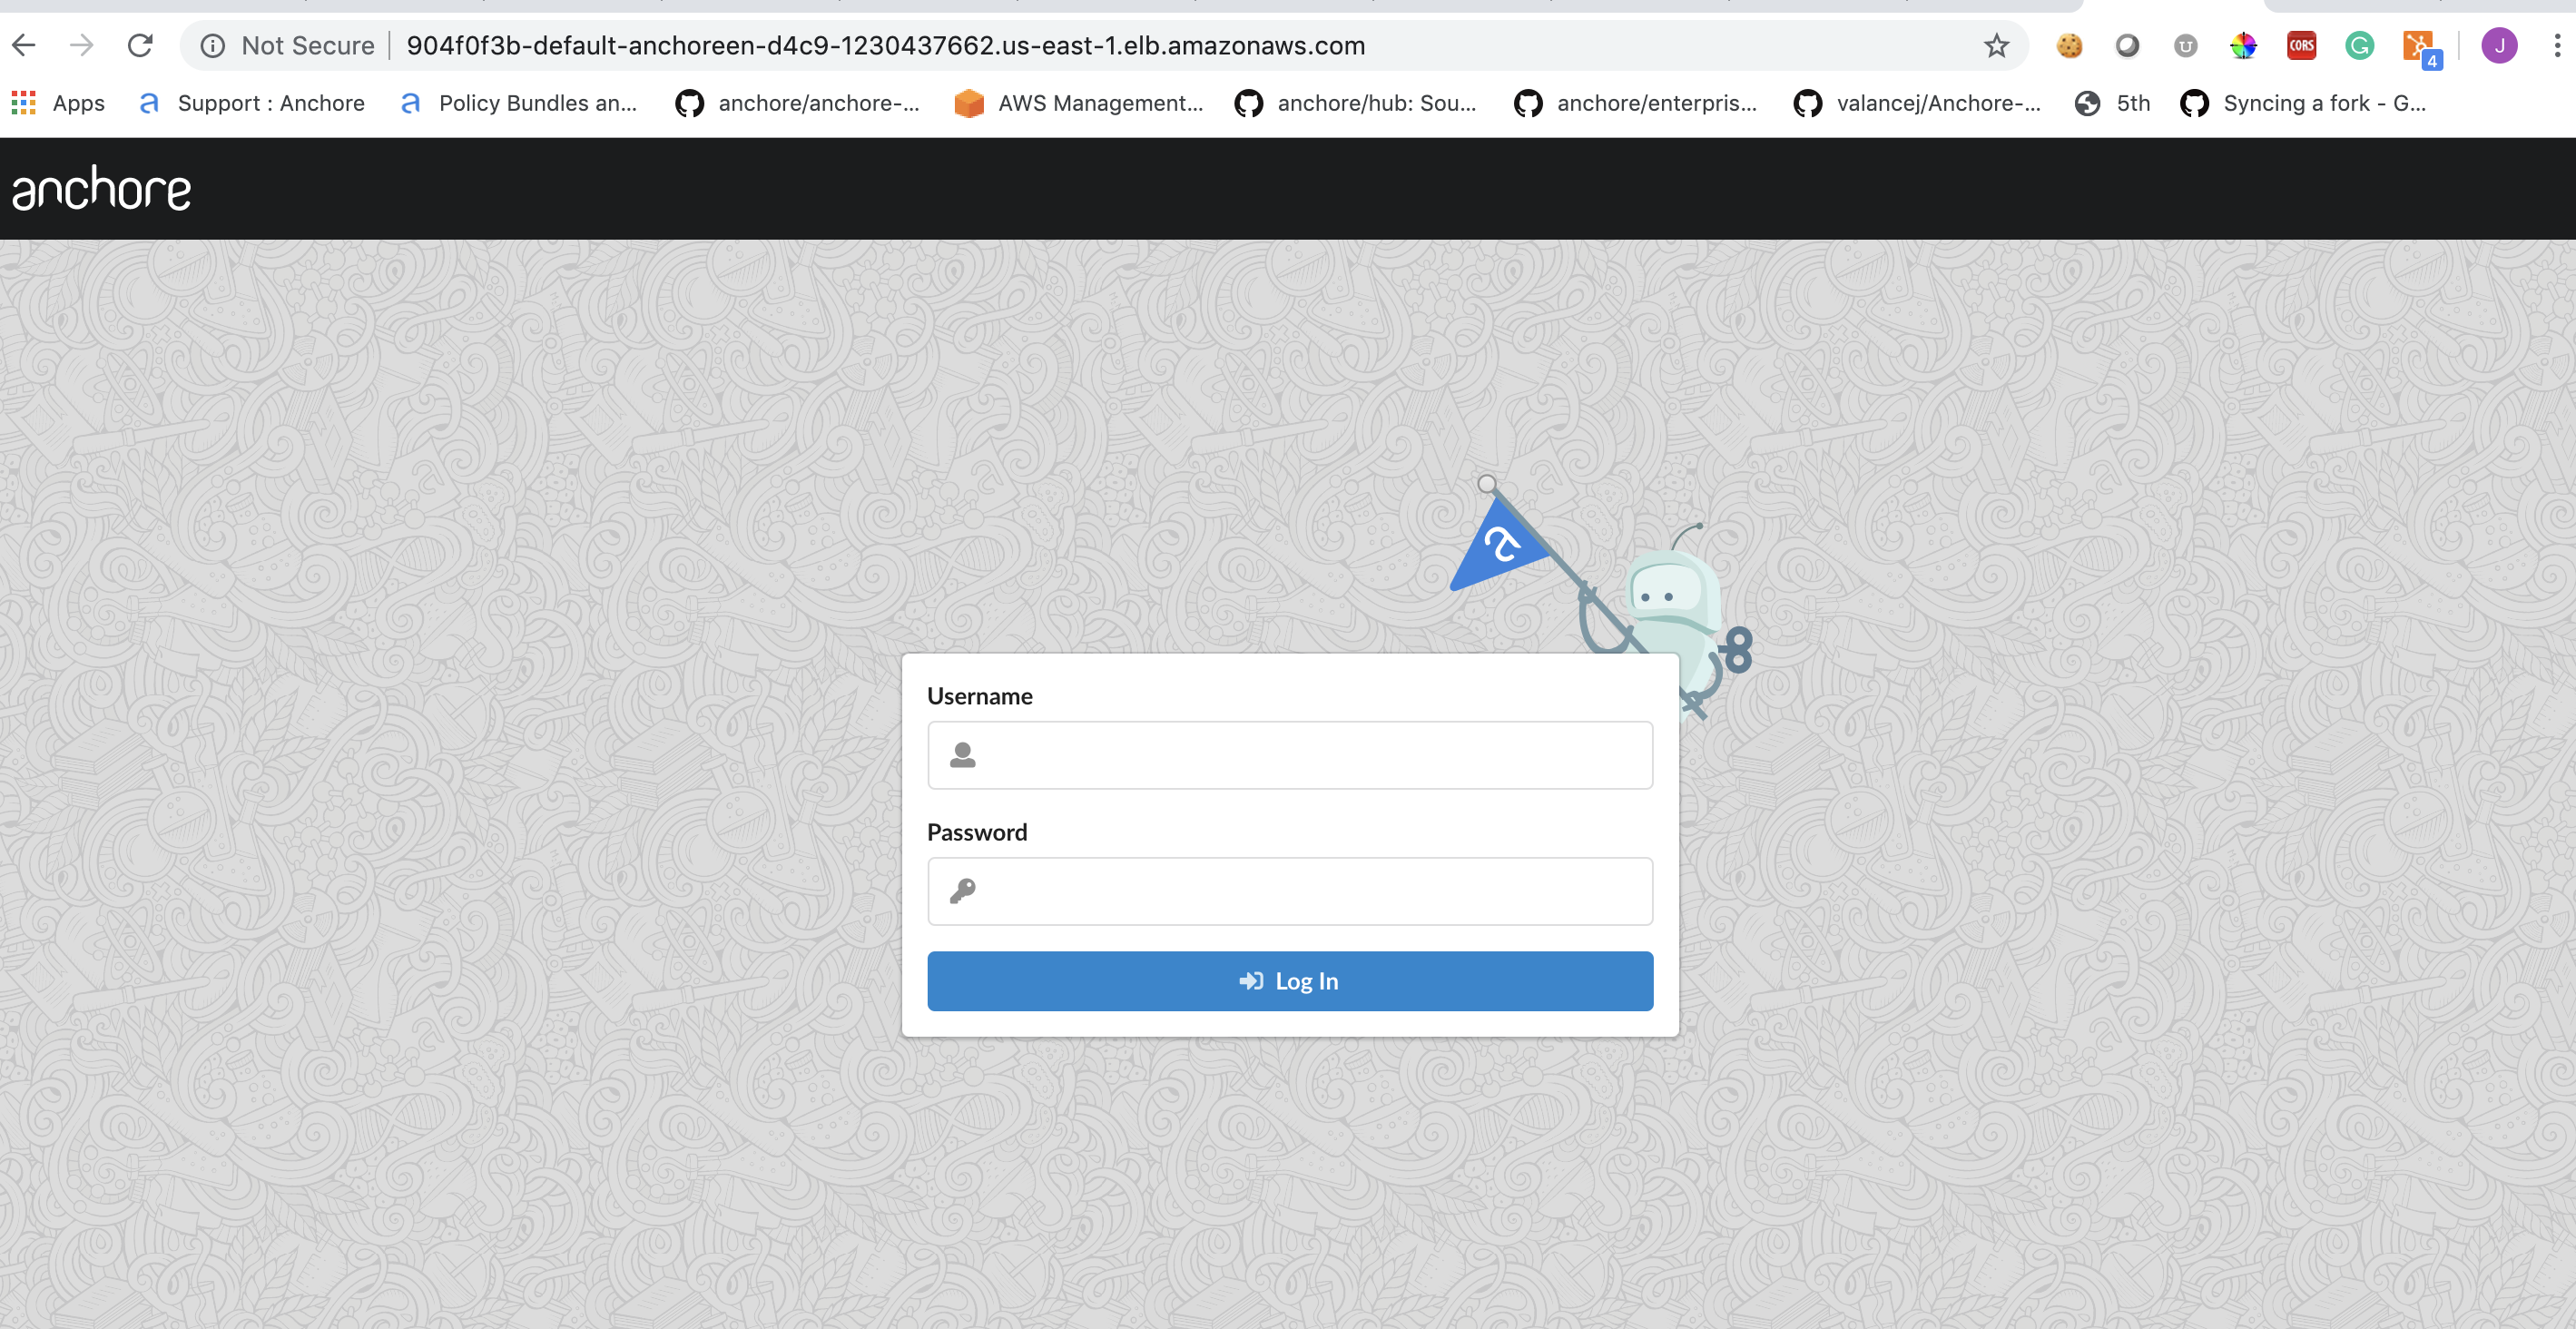
Anchore System
Check the status of the system with the Anchore CLI to verify all of the Anchore services are up:
Note: Read more on Configuring the Anchore CLI
$ anchore-cli --url http://xxxxxx-default-anchoreen-xxxx-xxxxxxxxxx.us-east-1.elb.amazonaws.com/v1/ --u admin --p foobar system status
Service apiext (anchore-enterprise-anchore-engine-api-6f6c4bd6bd-nvzh9, http://anchore-enterprise-anchore-engine-api:8228): up
Service rbac_authorizer (anchore-enterprise-anchore-engine-api-6f6c4bd6bd-nvzh9, http://localhost:8089): up
Service reports (anchore-enterprise-anchore-engine-api-6f6c4bd6bd-nvzh9, http://anchore-enterprise-anchore-engine-enterprise-reports:8558): up
Service rbac_manager (anchore-enterprise-anchore-engine-api-6f6c4bd6bd-nvzh9, http://anchore-enterprise-anchore-engine-api:8229): up
Service policy_engine (anchore-enterprise-anchore-engine-policy-6dd9896c97-nwcbx, http://anchore-enterprise-anchore-engine-policy:8087): up
Service analyzer (anchore-enterprise-anchore-engine-analyzer-6865f45bdc-6tgww, http://anchore-enterprise-anchore-engine-analyzer:8084): up
Service simplequeue (anchore-enterprise-anchore-engine-simplequeue-7744778576-th54t, http://anchore-enterprise-anchore-engine-simplequeue:8083): up
Service catalog (anchore-enterprise-anchore-engine-catalog-576795b8df-9drxg, http://anchore-enterprise-anchore-engine-catalog:8082): up

Engine DB Version: 0.0.11
Engine Code Version: 0.5.0
Anchore Feeds
It can take some time to fetch all of the vulnerability feeds from the upstream data sources. Check on the status of feeds with the Anchore CLI:
$ anchore-cli --url http://xxxxxx-default-anchoreen-xxxx-xxxxxxxxxx.us-east-1.elb.amazonaws.com/v1/ --u admin --p foobar system feeds list
Note: It is not uncommon for the above command to return a: [] as the initial feed sync occurs.
Once the vulnerability feed sync is complete, Anchore can begin to return vulnerability results on analyzed images. Please continue to the Usage section of our documentation for more information.
Feedback
Was this page helpful?
Glad to hear it! Please tell us how we can improve.
Sorry to hear that. Please tell us how we can improve.